Learn how to draw chains with our . Discover the materials needed, basic steps, tips for realism, adding depth, , and common mistakes to avoid. Master the art of drawing chains with this comprehensive tutorial.
Materials Needed for Drawing Chains
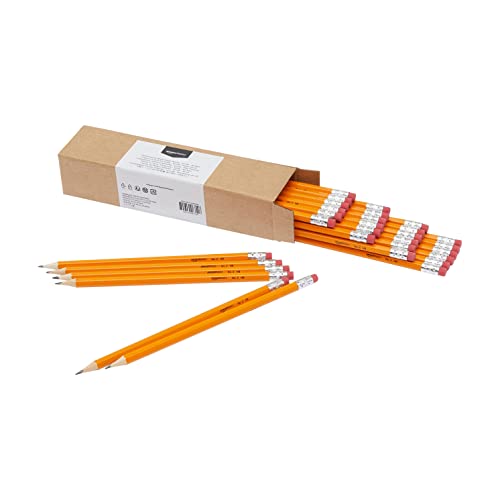
Pencil
When it comes to drawing chains, one of the most essential tools you’ll need is a pencil. A good quality pencil can make a world of difference in the details and precision you can achieve in your drawings. Opt for a mechanical pencil or a traditional wooden pencil, depending on your preference. Make sure it’s sharpened to a fine point to allow for intricate lines and shading.
Eraser
Mistakes happen, even to the most skilled artists. That’s why having a reliable eraser is crucial. Look for a soft eraser that won’t leave smudges or damage the paper. It’s also helpful to have a kneaded eraser on hand for more precise erasing and shading techniques. With the right eraser, you can easily correct any errors or adjust the shapes and lines of your chain drawing.
Paper
Choosing the right paper for your chain drawing is important to ensure smooth and precise lines. Opt for a heavier weight paper, such as drawing paper or Bristol board, which can handle the pressure of pencil strokes without tearing or smudging. The texture of the paper can also affect the overall look of your drawing, so consider experimenting with different surfaces to find the one that suits your style best.
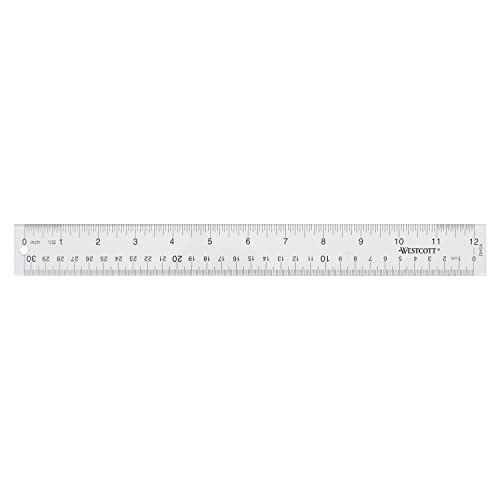
Ruler
To achieve straight and accurate lines in your chain drawing, a ruler is a must-have tool. A transparent ruler is particularly useful as it allows you to see the underlying lines while maintaining control over your drawing. With a ruler, you can create perfectly parallel lines for the links of your chain and ensure that everything is well-proportioned. It’s a handy tool for maintaining consistency and precision throughout your artwork.

In summary, to draw chains effectively, you will need a pencil for creating intricate details, an eraser for making corrections, paper with the right texture for smooth lines, and a ruler to maintain accuracy and proportions. These materials will provide you with the foundation you need to begin your chain drawing journey.
Basic Steps to Draw Chains
Start with a Straight Line
When drawing chains, it is important to begin with a straight line as the foundation. This line will serve as the base for the rest of the chain. You can use a ruler to ensure that the line is straight and aligned properly.
Add Rectangular Links
Next, you will need to add rectangular links to the straight line. These links will form the individual segments of the chain. To draw a rectangular link, simply draw a straight line parallel to the initial line, and then connect the ends with two shorter lines. Repeat this process to create as many links as desired.
Connect the Links
Once you have drawn the rectangular links, it’s time to connect them together to form a chain. To do this, you will need to draw small circles at the ends of each link. These circles will serve as the connection points for the links. Make sure that the circles are evenly spaced and aligned with each other.
Add Details and Shadows
To make your chain drawing more realistic and visually appealing, you can add details and shadows. For example, you can add small lines or dots to represent the texture of the links. You can also use shading techniques to create depth and dimension. Pay attention to where the light source is coming from and add shadows accordingly.
Remember, practice makes perfect when it comes to drawing chains. Experiment with different techniques and styles to find what works best for you. With time and patience, you will be able to create stunning chain drawings that impress and inspire.
Tips for Drawing Realistic Chains
Study Reference Images
When it comes to drawing chains, studying reference images is crucial. Look for photos or illustrations of different types of chains to get a better understanding of their structure and how they interact with light. Pay attention to the shapes and sizes of the links, the way they connect, and the overall composition of the chain. By studying reference images, you’ll gain valuable insights that will help you create more realistic and accurate chain drawings.
Understand Perspective
Perspective plays a key role in drawing realistic chains. Chains are three-dimensional objects, and understanding how perspective works will allow you to accurately depict their form and depth. Consider the position of the viewer and the vanishing points in your drawing. This will help you determine the size and spacing of the links as they recede into the distance. By mastering perspective, you can create chains that appear lifelike and give the illusion of depth.
Use Light and Shadow Effectively
Light and shadow are essential elements in creating realistic drawings, and chains are no exception. Consider the direction of the light source and how it interacts with the chain. This will determine where the highlights and shadows fall on the links. By effectively using light and shadow, you can add dimension and depth to your chain drawings, making them more visually appealing and realistic.
Pay Attention to Proportions
Proportions are key when drawing chains. Each link should be accurately sized and aligned with the others to create a cohesive and realistic chain. Pay attention to the thickness and length of each link, ensuring they are consistent throughout the chain. Additionally, consider the spacing between the links to maintain a balanced and visually pleasing composition. By paying attention to proportions, you can create chains that look accurate and well-balanced.

Remember, drawing realistic chains takes practice and patience. By following these tips, studying reference images, understanding perspective, effectively using light and shadow, and paying attention to proportions, you’ll be well on your way to creating impressive chain drawings that capture the intricacies and beauty of these fascinating objects.
Adding Depth and Dimension to Chains
Use Crosshatching Technique
Crosshatching is a popular technique used by artists to create depth and dimension in their drawings. It involves drawing a series of intersecting lines to create shading and texture. When applied to chains, crosshatching can bring the links to life, making them appear three-dimensional.
To use the crosshatching technique, start by lightly sketching the outline of the chain. Then, begin adding parallel lines across the links, paying attention to the direction of the light source. As you move further away from the light, the lines can become darker and closer together, creating a gradient effect. This technique adds depth to the chains, making them look more realistic.
Create Highlights and Shadows
Highlights and shadows are essential elements when it comes to adding depth and dimension to chains. By understanding how light interacts with objects, you can effectively create these visual cues in your drawing.
To create highlights, identify the areas on the chain that would catch the most light. These could be the tops of the links or any exposed surfaces. Use a lighter shade of pencil or leave these areas blank to represent the reflection of light.
Shadows, on the other hand, occur where light is blocked or absorbed. Determine the direction of the light source and shade the opposite side of the links accordingly. This will create a contrast between light and dark areas, giving the chains a three-dimensional appearance.
Add Texture to the Links
To make your chains look more realistic, it’s important to add texture to the links. Texture adds interest and detail to your drawing, making it visually appealing.
To add texture, observe the surface of the chain and look for any patterns or irregularities. Use short, curved lines or dots to represent these details. You can also vary the thickness of your lines to create a sense of depth and variation in the links.
By incorporating texture into your drawing, you can enhance the overall realism of the chains and make them stand out.
Enhancing Chains with Different Styles
Drawing a Broken Chain
Drawing a broken chain can add an interesting element to your artwork and create a sense of movement or tension. To start, sketch a straight line to represent the base of the chain. Then, carefully draw small, broken links along the line, leaving spaces between each link to indicate the breaks. Add some variation in the size and shape of the broken links to make the chain look more realistic. Finally, add shading and highlights to give the broken chain depth and dimension.

Drawing a Twisted Chain
A twisted chain can add a dynamic and unique look to your drawing. Begin by drawing a straight line as the foundation of the chain. Then, instead of drawing rectangular links, create irregular, organic shapes that twist and turn along the line. Vary the size and direction of the links to give the chain a more intricate appearance. Pay attention to the placement of the links, ensuring they overlap and intertwine to create a visually interesting pattern. Use shading and highlights to enhance the three-dimensional quality of the twisted chain.
Drawing a Chain with Lock
Adding a lock to your chain drawing can make it more visually appealing and add a touch of complexity. Start by drawing the chain following the basic steps outlined earlier. Then, sketch the lock at one end of the chain, making sure to consider its size and proportions in relation to the links. Pay attention to the details of the lock, such as the keyhole and any intricate patterns or textures. Use shading and highlights to give the lock and chain a realistic and polished appearance. Remember to add shadows and reflections to make the lock appear three-dimensional.
By experimenting with , such as drawing a broken chain, a twisted chain, or a chain with a lock, you can elevate your chain drawings and add visual interest. These techniques allow you to explore different shapes, textures, and patterns, resulting in unique and captivating artwork. So, don’t be afraid to get creative and give your chains a personal touch!
Common Mistakes to Avoid
Uneven Link Sizes
One common mistake when drawing chains is creating uneven link sizes. It’s important to maintain consistency in the size of each link to ensure a realistic and cohesive chain. When one link is significantly larger or smaller than the others, it can give the impression of a poorly constructed chain. To avoid this mistake, take your time to carefully measure and draw each link, ensuring they are all proportional to one another.
Misaligned Links
Another mistake to avoid is drawing misaligned links. Chains are made up of interconnected links, and if these links are not properly aligned, the chain will appear distorted and unrealistic. To ensure your chain looks accurate, pay close attention to the alignment of each link. Use a ruler or straight edge to guide your lines and maintain consistent spacing between each link. This attention to detail will greatly enhance the overall appearance of your chain drawing.
Overcomplicating the Design
When drawing chains, it’s important to strike a balance between complexity and simplicity. One common mistake is overcomplicating the design by adding unnecessary embellishments or intricate details. While it can be tempting to create a visually intricate chain, it can also make the drawing appear cluttered and confusing. Instead, focus on capturing the essence of the chain and its basic structure. By keeping the design simple and clean, you can achieve a more visually pleasing and realistic result.
Lack of Attention to Detail
A lack of attention to detail is another mistake to avoid when drawing chains. Chains have a distinctive texture and appearance, and by neglecting to pay attention to these details, the drawing can lack depth and realism. Take the time to carefully observe and study reference images of chains, noting the subtle nuances in texture, shading, and form. Incorporate these details into your drawing, such as the slight variations in tone and shape between each link. By paying attention to these small details, you can elevate the overall quality of your chain drawing.